The Windows notch for GitHub Copilot CLIWatchbird forGitHub Copilot CLI
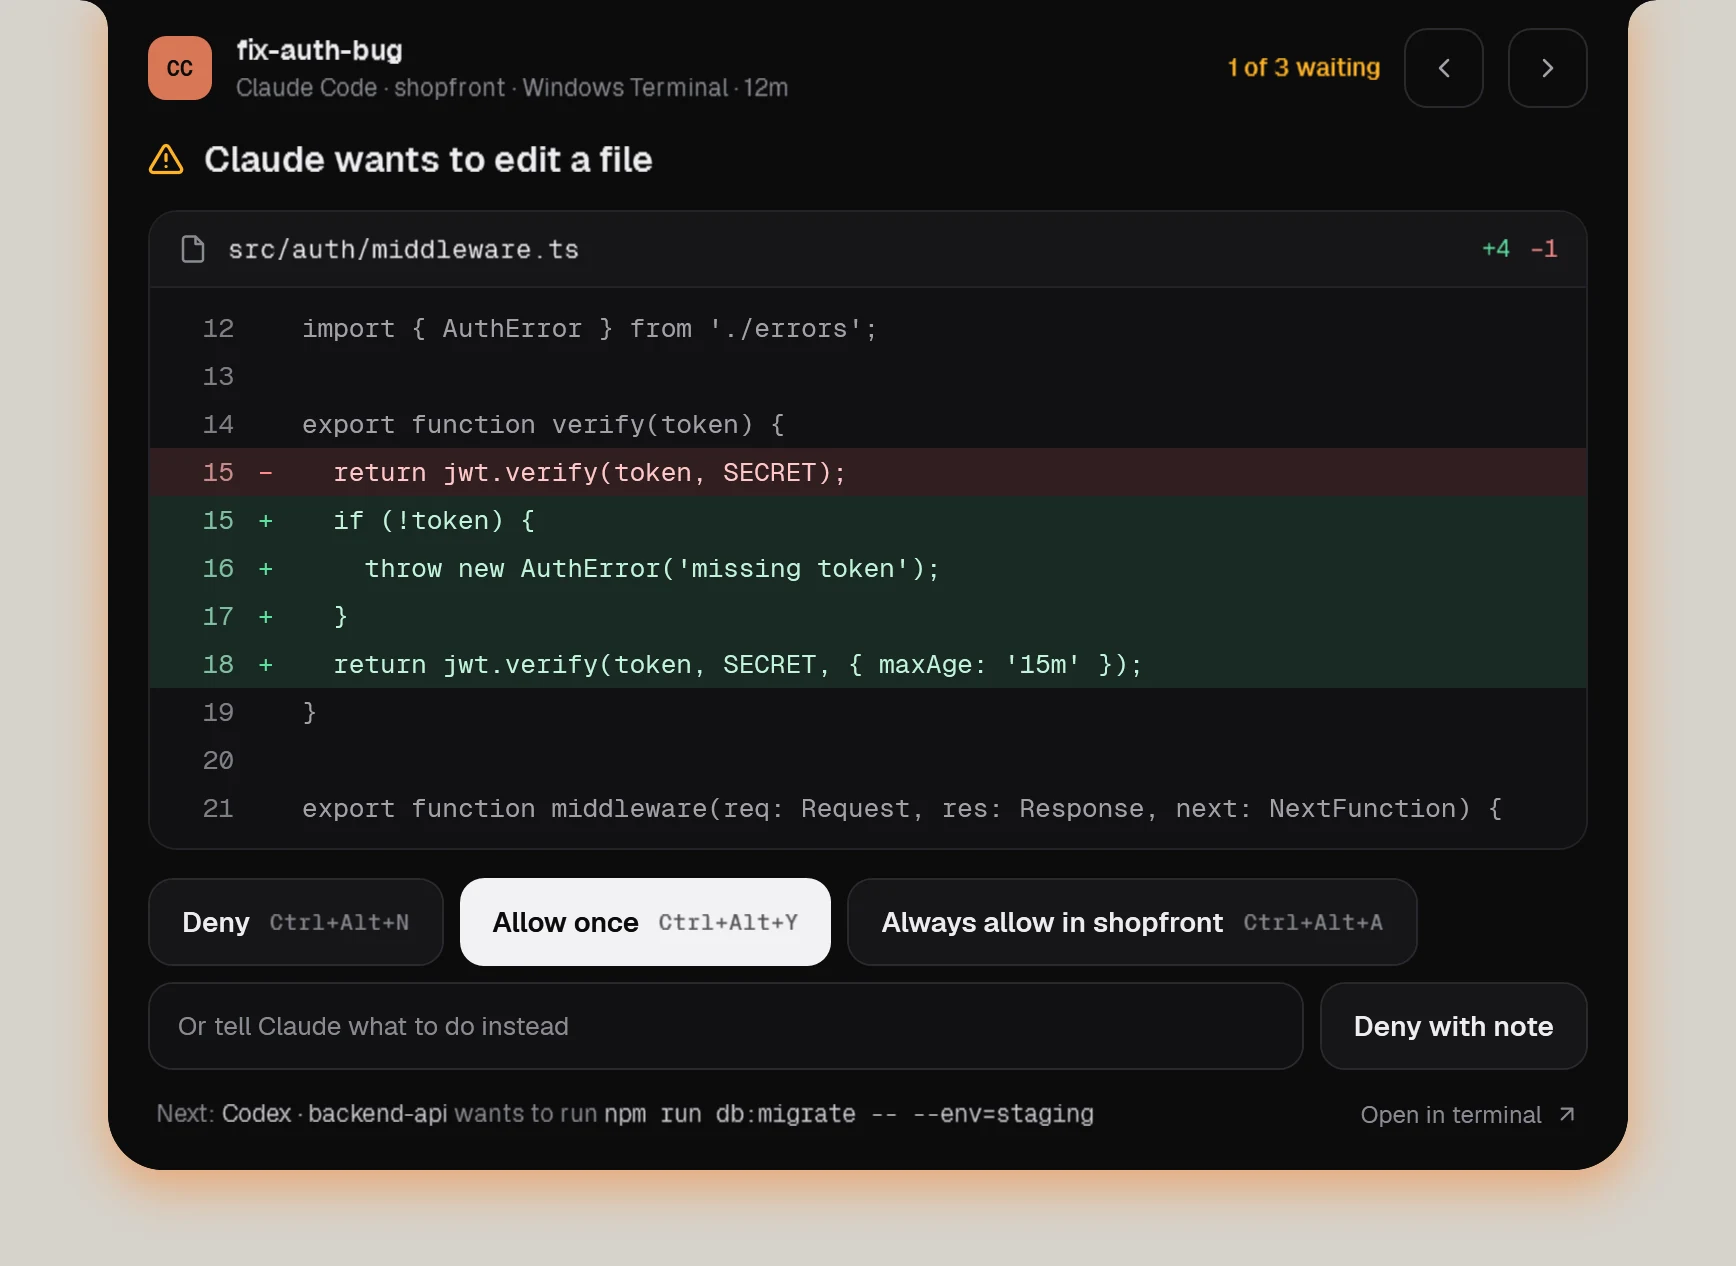
GitHub Copilot CLI asks before it runs tools. Watchbird answers those permission requests from a notch and shows every Copilot session next to your other agents.
GitHub Copilot CLI
What works
| Session status in the notch | Yes |
|---|---|
| Approve edits & commands | Yes, in the notch |
| Questions & plans | In the terminal (the agent has no hook for it) |
| Jump to terminal or editor | Yes, one click |
| Follow-up messages | Yes, delivered when the agent is ready |
| Usage & context | Not available (Copilot has no local usage data) |
GitHub Copilot CLI
How Watchbird connects
Through GitHub Copilot CLI’s official hooks, in a file of its own: ~/.copilot/hooks/watchbird.json. Your own hooks stay untouched, and Settings → Agents removes the file again with one click.
Set up in three steps
- 01Get Watchbird from the Microsoft Store — the first 15 days are free.
- 02Start it. The setup finds GitHub Copilot CLI on your PC and connects it with one click.
- 03Start a new GitHub Copilot CLI session. The notch shows it from the first prompt.
Good to know
- Watchbird uses its own hook file and leaves your hooks alone. Copilot loads hooks when it starts, so restart sessions that were already running.
- Questions and plans stay in the terminal — Copilot has no hook for them.
- Copilot’s approval hook is new and not fully documented; Watchbird’s own always-allow rules keep repeated requests quiet.
Other agents
The agents are installed separately. Watchbird is an independent product and is not affiliated with or endorsed by their makers; all product names are trademarks of their respective owners.